依赖:
1
| sudo apt install make gcc flex bison libncurses-dev libelf-dev libssl-dev clang clang-format
|
go:
1
2
3
4
5
6
7
8
9
| wget https://dl.google.com/go/go1.17.6.linux-amd64.tar.gz
tar -xf go1.17.6.linux-amd64.tar.gz
mv go goroot
// 添加到shell的配置文件中
export GOROOT=`pwd`/goroot
export PATH=$GOROOT/bin:$PATH
|
syzkaller
1
2
3
| git clone https://github.com/google/syzkaller
cd syzkaller
make
|
编译内核
1
2
3
| cd linux
make defconfig //默认配置
make kvm_guest.config //启用kvm
|
向config写入
1
2
3
4
5
6
| CONFIG_KCOV=y
CONFIG_DEBUG_INFO=y
CONFIG_KASAN=y
CONFIG_KASAN_INLINE=y
CONFIG_CONFIGFS_FS=y
CONFIG_SECURITYFS=y
|
编译
1
2
| make olddefconfig
make -j8
|
文件系统
1
2
3
4
5
6
| sudo apt-get install debootstrap
wget https://raw.githubusercontent.com/google/syzkaller/master/tools/create-image.sh -O create-image.sh
chmod +x create-image.sh
// 最好换源 bu'ran'zhen'd
sed -i -e 's~sudo debootstrap .*~\0 https://mirrors.tuna.tsinghua.edu.cn/debian/~' create-image.sh
./create-image.sh
|
这样会生成img文件系统镜像文件,以及rsa密钥
qemu运行
1
2
3
4
5
6
7
8
9
10
11
12
13
| #!/bin/bash
qemu-system-x86_64 \
-m 2G \
-smp 2 \
-kernel ./bzImage \
-append "console=ttyS0 root=/dev/sda earlyprintk=serial net.ifnames=0" \
-drive file=/home/pwnme/image/stretch.img,format=raw \
-net user,host=10.0.2.10,hostfwd=tcp:127.0.0.1:10021-:22 \
-net nic,model=e1000 \
-enable-kvm \
-nographic \
-pidfile vm.pid \
2>&1 | tee vm.log
|
pidfile vm.pid 存储qemu进程pid到vm.pid
net user,hostfwd=tcp::10021-:22 -net nic:客户机与宿主机之间通过指定的端口进行通讯
2>&1 | tee vm.log:将执行过程中的输出同时定向到标准输出和vm.log文件中
换成自己的路径即可
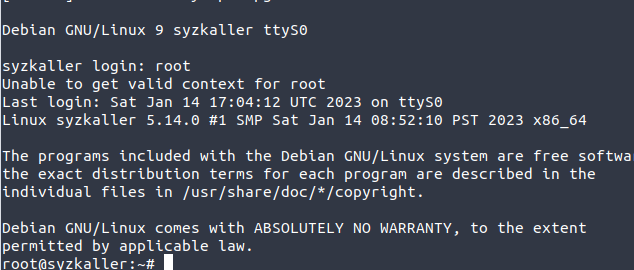
启用qemu后 ,登录用户root,默认无密码

测试ssh:
保持qemu运行,在另一终端使用登录qemu虚拟机
1
| ssh -i ./stretch.id_rsa -p 10021 -o "StrictHostKeyChecking no" root@localhost
|

syzkaller启用
在syzkaller目录下新建工作目录 ,config文件
1
2
| mkdir workdir
touch config.cfg
|
大致如下:
1
2
3
4
5
6
7
8
9
10
11
12
13
14
15
16
17
| {
"target": "linux/amd64",
"http": "127.0.0.1:56741",
"workdir": "/home/pwnme/syzkaller/workdir",
"kernel_obj": "/home/pwnme/kernel/linux-5.14",
"image": "/home/pwnme/image/stretch.img",
"sshkey": "/home/pwnme/image/stretch.id_rsa",
"syzkaller": "/home/pwnme/syzkaller",
"procs": 8,
"type": "qemu",
"vm": {
"count": 4,
"kernel": "/home/pwnme/kernel/syzfuzztest/bzImage",
"cpu": 2,
"mem": 2048
}
}
|
运行,加上 -debug可以查看日志
1
| ./bin/syz-manager -config=config.cfg
|
遇到问题:

修改cfg文件
1
2
3
4
5
6
7
8
9
10
11
12
13
14
15
16
17
18
| {
"target": "linux/amd64",
"http": "127.0.0.1:56741",
"workdir": "/home/pwnme/syzkaller/workdir",
"kernel_obj": "/home/pwnme/kernel/linux-5.14",
"image": "/home/pwnme/image/stretch.img",
"sshkey": "/home/pwnme/image/stretch.id_rsa",
"syzkaller": "/home/pwnme/syzkaller",
"procs": 8,
"type": "qemu",
"vm": {
"count": 4,
"kernel": "/home/pwnme/kernel/syzfuzztest/bzImage",
"cmdline": "net.ifnames=0",
"cpu": 2,
"mem": 2048
}
}
|
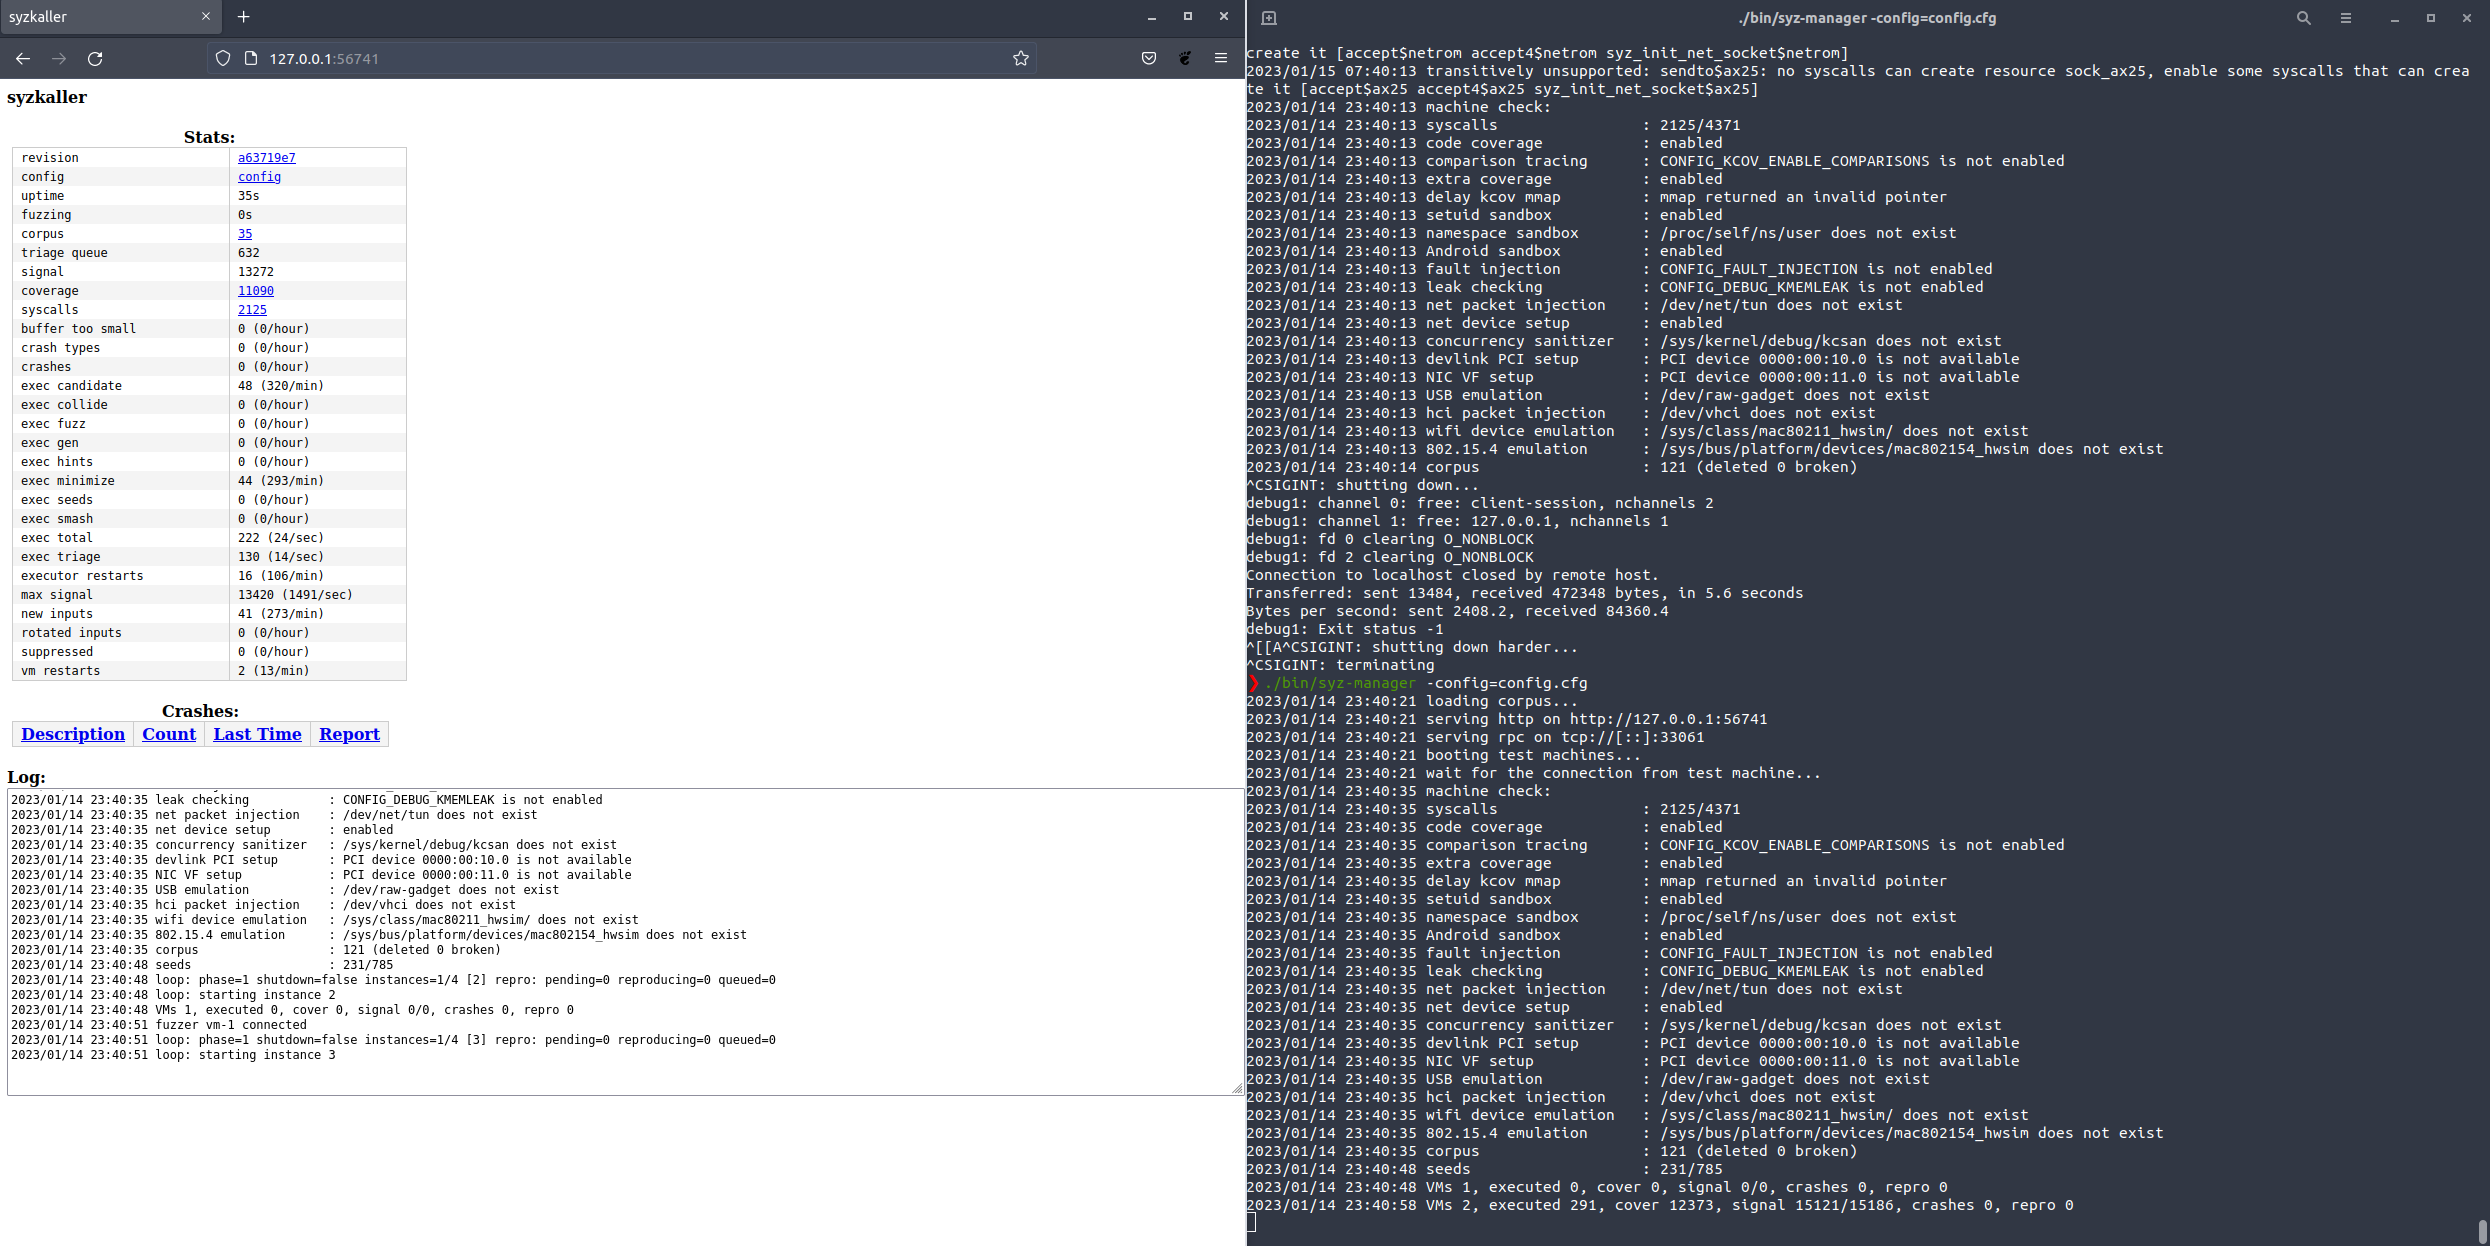
成功:

顺带一提,我在我的ubuntu18.04环境下,到最后一步总是会报 RPC create client failed ,搞了很久没搞懂原因,换成20.04就畅通了=
Author:
7r1p13J
License:
Copyright (c) 2019 CC-BY-NC-4.0 LICENSE


